In this tutorial we'll discuss the integration of Slack into a Spring Boot 2 based web application.
Used technologies
- Java 8
- Maven 3.3
- Eclipse Neon IDE
- Spring Boot 2.1.0
- Spring Initializr
I don't want to start with buzzwords, what is Slack, and what is for, because I think you opened this article with a clear purpose. So, open
and set up our Spring Boot application. Let's search for the web module and add it as a dependency.
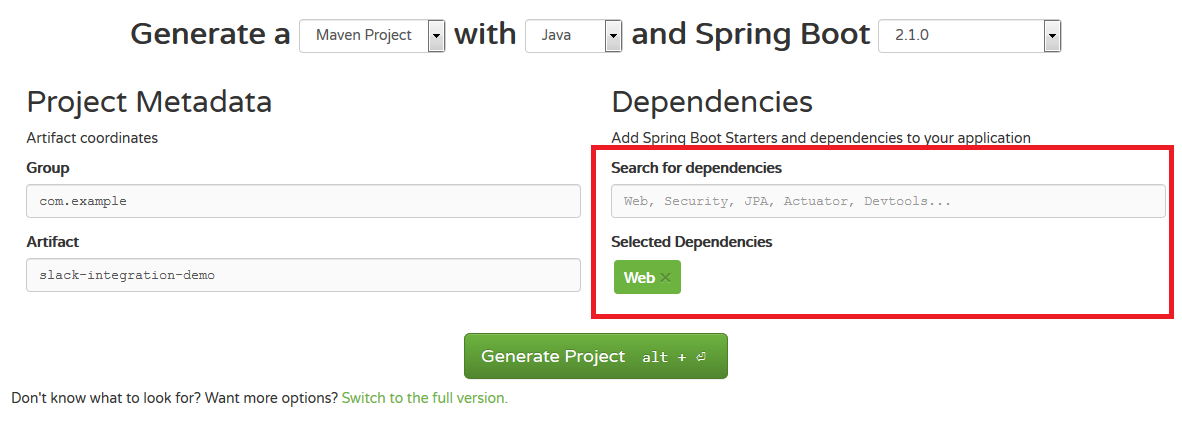
Click on "Generate Project", and after a few seconds a download dialog'll appear with our newly generated Spring Boot project.

Unzip the archive to a folder, and remember that location. Open Eclipse IDE (or whatever you want to use), and import the recently generated Maven project.
Right click with the mouse and > Import > Other

and then select the folder, where you unzipped the generated project.

Open SlackIntegrationDemoApplication.java, and edit it by the following way:
@SpringBootApplication
public class SlackIntegrationDemoApplication implements CommandLineRunner {
public static void main(final String[] args) {
SpringApplication.run(SlackIntegrationDemoApplication.class, args);
}
/*
* (non-Javadoc)
*
* @see org.springframework.boot.CommandLineRunner#run(java.lang.String[])
*/
@Override
public void run(final String... args) throws Exception {
System.out.println("PROJECT STARTED");
}
}
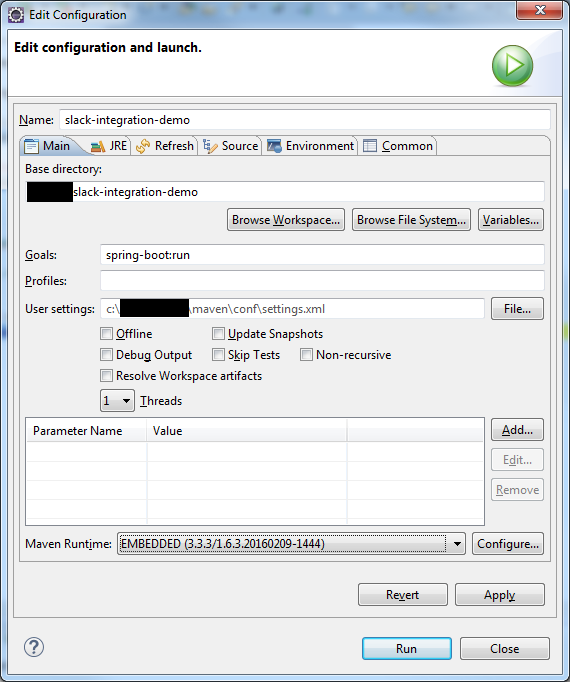
Let's launch the app: In the Project Explorer perform a right click "> Maven > Maven Build" on the project.
If you did everything well, you'll see a "PROJECT STARTED" text in the Console View.
The next step is to set up the communication with Slack. Open api.slack.com, navigate to "Your Apps" page and select your application.
Select "Incoming webhooks" page, go to "Webhook URLs for Your Workspace" section, and click on "Add New Webook to Workspace" button. A new page will appear, where
you have to select a channel, and click on "Authorize":

Now you will see in the list your new webhook added. Press "Copy" on the "Webhook URL" list item. Copy this URL to a notepad tab, or whatever, later we'll use it. Ok, now we need the OAuth Access
Token from the "OAuth & Permissions" page. This token might start with "xoxp-...". Press the "Copy" button, and paste it into the same tab where you paste the webhook URL, to store temporary everything
on the same place. Ok, so we got the webhook URL to your channel, and the Oauth Token, it's time to do the implementation!
For the implementation of the Slack Rest client I'll show you 2 ways. Both of them are good, but it's required to do some further configuration with Spring.
In the first solution I'll use CloseableHttpClient. Put the following code block into the run() method in SlackIntegrationDemoApplication class:
final CloseableHttpClient client = HttpClients.createDefault();
final HttpPost httpPost = new HttpPost("<API_SLACK_URL>");
try {
final StringEntity entity = new StringEntity("{ \"text\" : \"Hello from Spring Boot!\" }");
httpPost.setEntity(entity);
httpPost.setHeader("Accept", MimeTypeUtils.APPLICATION_JSON_VALUE);
httpPost.setHeader("Content-Type", MimeTypeUtils.APPLICATION_JSON_VALUE);
httpPost.setHeader("Bearer", "<YOUR_OAUTH_TOKEN>");
client.execute(httpPost);
client.close();
} catch (final Exception e) {
LOG.error("Error occured in SlackService: {}", e);
}
...
Restart the application, and you'll see the message in your Slack channel.
There's another way I mentioned. We are working in Spring, so we should use RestTemplate instead of an Apache HTTP client.
final RestTemplate restTemplate = new RestTemplate();
final String fooResourceUrl = "<API_SLACK_URL>";
final HttpEntity entity = new HttpEntity<String>("{ \"text\" : \"Hello from Spring Boot!\" }");
entity.getHeaders().add("Accept", MimeTypeUtils.APPLICATION_JSON_VALUE);
entity.getHeaders().add("Content-Type", MimeTypeUtils.APPLICATION_JSON_VALUE);
entity.getHeaders().add("Bearer", "<YOUR_OAUTH_TOKEN>");
final ResponseEntity<String> response = restTemplate.postForObject(fooResourceUrl, entity,
ResponseEntity.class);
...
And that's all!


